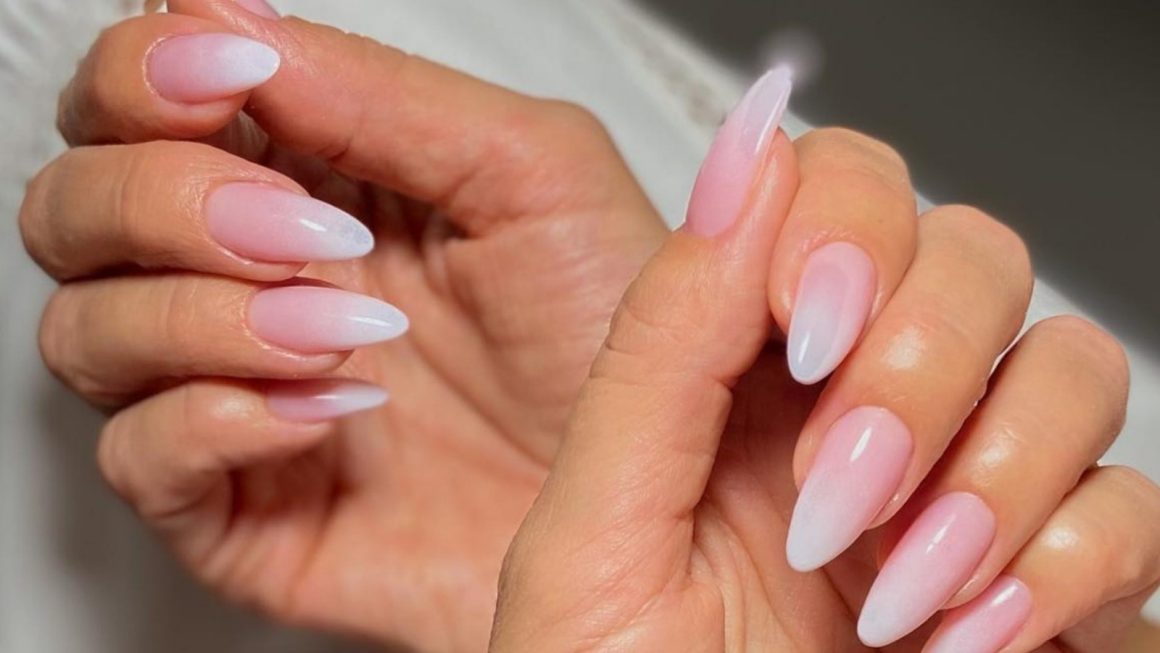
Goodbye nail polish, hello natural shine! The clean nails trend is still going strong, and for good reason: today, we want healthy, clean, and luminous nails, without necessarily resorting to nail polish. Under the influence of Japanese manicures and the clean nails trend, which emphasizes a minimalist manicure, bare, shiny, and well-groomed nails are becoming the new chic accessory. But how can you make your nails shine without polish? We’ve put together a 6-step, ultra-effective homemade manicure routine for radiant, natural nails.
Why opt for natural nails without polish?
The galloping return of naturalness
In recent years, the clean nails trend has taken over the world of beauty and fashion. Manicures are no exception: the “bare nails” look is now favored, a minimalist look inspired by the no-makeup manicure and clean girl nail trends. It’s all about focusing on the shine of bare nails rather than using semi-permanent nail polish or artificial nails. The idea? To highlight the nail as it is, without masking it with artificial products, using natural and bio-sourced products to both strengthen and enhance it.
A care routine adapted to all lifestyles
Wearing your natural nails is also an ideal solution when:
- You work in a profession that doesn’t allow you to wear nail polish, such as medical professions, childcare, catering, or hairdressing.
- To let your nails breathe between coats of semi-permanent nail polish and promote healthy growth.
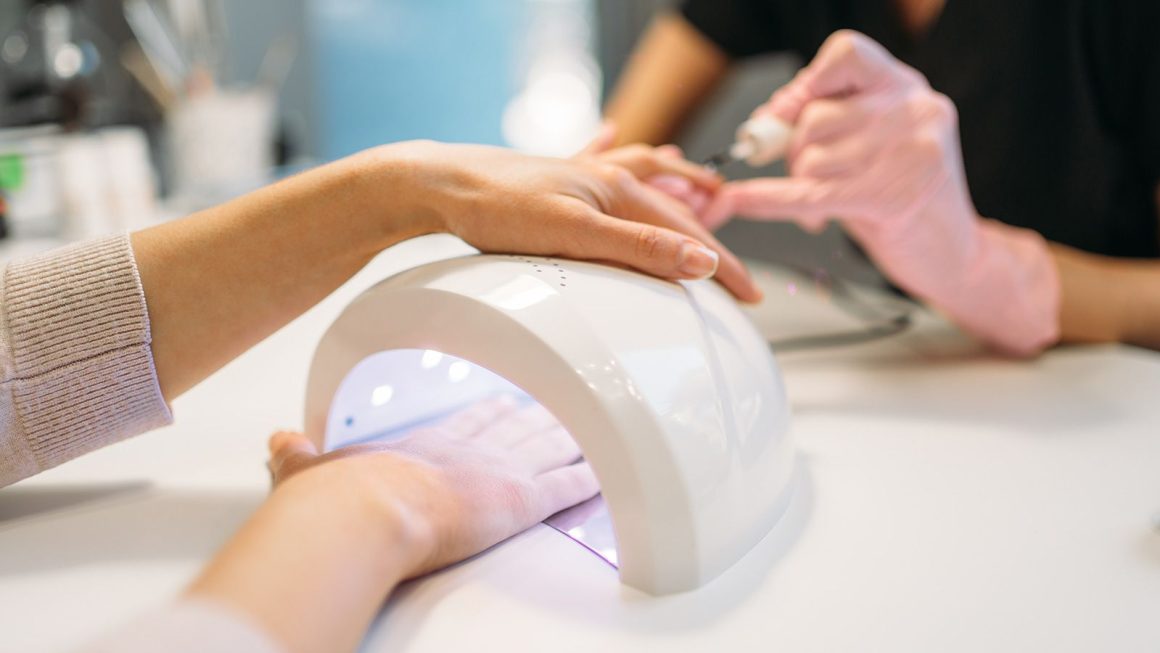
- We’re looking for an alternative to traditional nail polish, whether you’re a man or a woman, with long or short nails. Here, there’s no drying time or application technique to master. A few minutes are all it takes for this at-home manicure, resulting in beautiful, shiny natural nails and the pleasure of showing off beautifully cared-for hands.
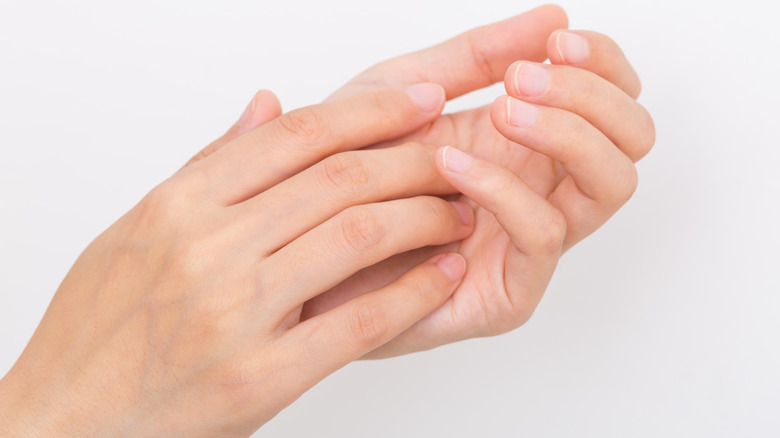
Your new step-by-step glossy nail care routine
Step 1: File your nails
First, file your nails to give them a harmonious shape.
How does it work? Oval, rounded, or square—the choice is yours, as long as the line is clean and even.
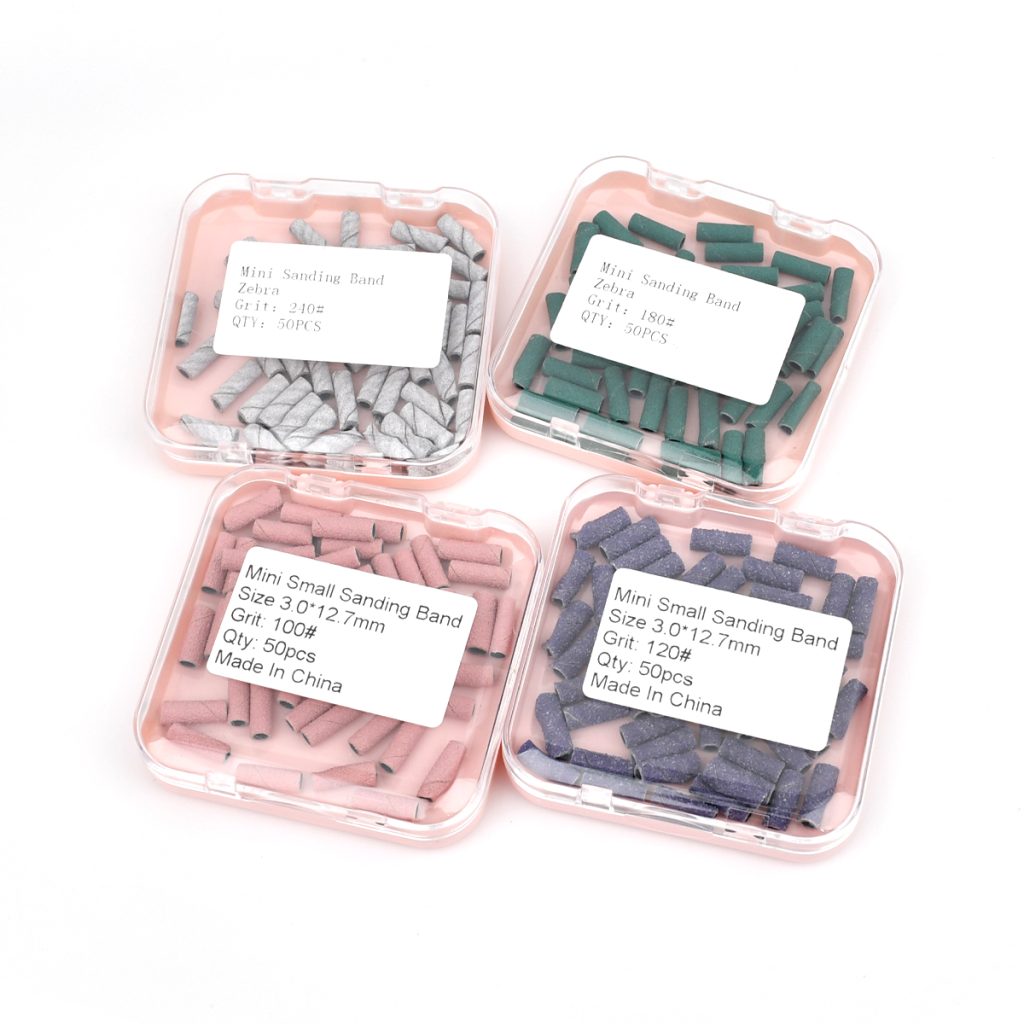
Tip: Choose fine-grit (180) sanding bands for natural nails, which are gentle on the nail matrix.
Step 2: Treat your cuticles
No perfect manicure without clean edges. It’s time to pamper your cuticles!
How does it work? After softening the cuticles with a little Effective Emollient, push them back with a cuticle pusher, or with a wooden stick.
Tip: This treatment can be done once a week for consistently clean cuticles.
Step 3: Exfoliate with the Glycolic Peel
Apply the Glycolic Peel to bare nails, spreading the gel over the entire surface. Massage until completely absorbed. No need to rinse; the formula works gently thanks to the combined action of AHAs (glycolic and citric acid) and gluconolactone. The result: a clean surface, free of dead cells and ready to shine!
Step 4: Buff the nail surface
This is where the buffer block comes in, each side of which plays a specific role.
How does it work? First, use the pale pink side of the buffer to lift the nail scales. Then move over the white side to smooth the nail surface and erase imperfections.
Tip: Always hold the buffer in the same direction, without applying too much pressure. A controlled buff maximizes shine without weakening the surface.
Step 5: Buff for a glossy effect
This is the “icing on the cake” step that makes all the difference.
How does it work? Use the bright pink side of the buffer to close the scales and amplify the natural shine of the nails.
Tip: Buff the nail with light, brisk strokes.
Step 6: Moisturize with vegetable oils
A well-hydrated nail is a strong… and luminous nail. Green Oil, a complex of 6 plant oils (sweet almond oil, walnut oil, coconut oil, baobab oil, passion fruit oil, and candlenut oil), deeply nourishes the matrix and cuticles.
How does it work? Apply a few drops and massage until absorbed. Your nails will regain suppleness, shine, and vitality.
There you go, follow this glossy routine 2 to 3 times a week for a shiny effect that lasts as long as gel polish!